All-In-One video library & player for iOS/macOS/tvOS
...
Best local and net disk movie/tv player on Mac, creating a local personal media library.
Price reduced to Free Trial!
  • $29.99
  • 0
How to Watch HDR Videos on Mac
  • NotionAI
  • 2026-03-05 14:57:06


How to Watch HDR Videos on Mac

Introduction

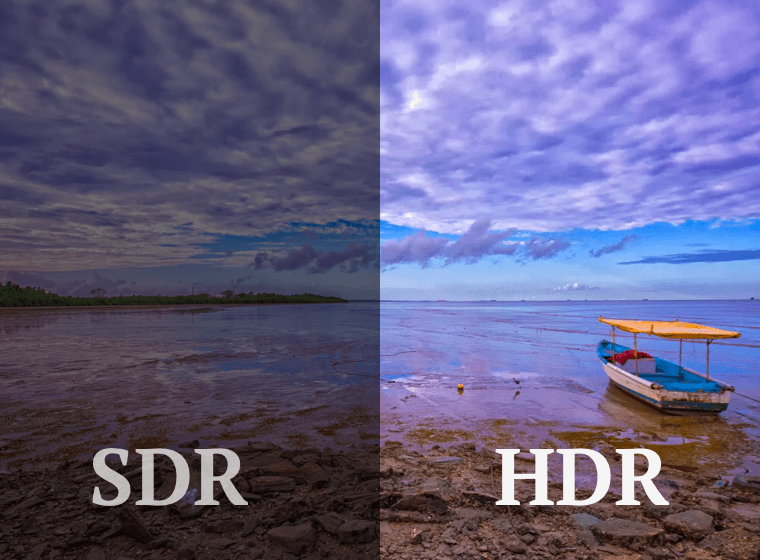
With the increasing popularity of High Dynamic Range (HDR) video content, it is important to know how to watch it on your Mac. HDR videos provide a better viewing experience with more vivid colors, brighter highlights, and deeper shadows. However, not all Macs support HDR playback. In this blog post, we will explain how to watch HDR video on your Mac.

Enable HDR Display

To watch HDR videos on your Mac, you need to have an HDR display. Most modern Macs have a built-in HDR display, but if you have an external display, you need to check if it supports HDR playback. Once you have an HDR display, you need to enable HDR mode on it. Here are the steps to enable HDR mode on your Mac:

  1. Click on the Apple menu in the top left corner of your screen.
  2. Click on System Preferences.
  3. Click on Displays.
  4. Select the HDR display you want to use.
  5. Click on the Display tab.
  6. Check the box next to "High Dynamic Range."

Use a Compatible Media Player

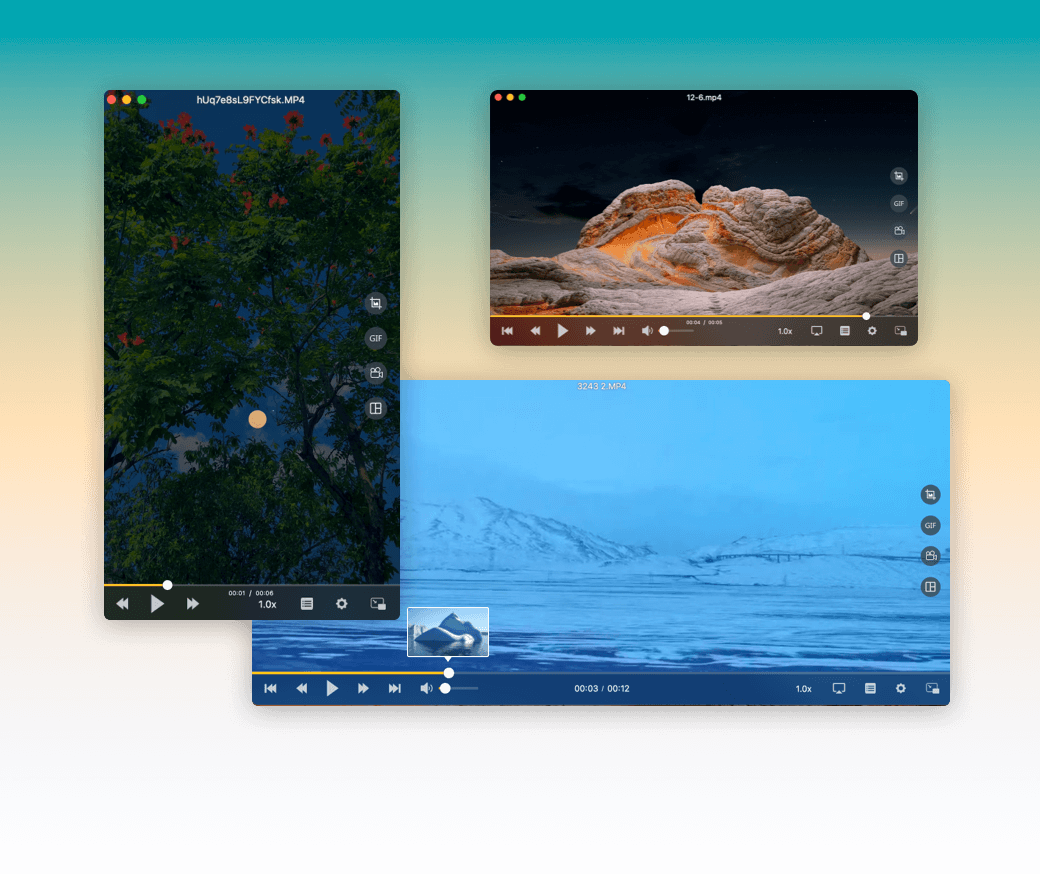
If you are looking for a media player to watch HDR video on your Mac, you may want to consider using OmniPlayer. It is a popular media player that supports HDR playback on Mac and has a user-friendly interface. You can download it from the Mac App Store. Once you have installed the media player, make sure that HDR playback is enabled in the settings.

To watch HDR video on your Mac using OmniPlayer, you need to make sure that your Mac has an HDR display. If you have an external display, you should check if it supports HDR playback. Once you have an HDR display, you can follow these steps to enable HDR mode on your Mac:

  1. Click on the Apple menu in the top left corner of your screen.
  2. Click on System Preferences.
  3. Click on Displays.
  4. Select the HDR display you want to use.
  5. Click on the Display tab.
  6. Check the box next to "High Dynamic Range."

After enabling HDR mode on your Mac, you can open OmniPlayer and start watching HDR videos. One of the advantages of using OmniPlayer is that it allows you to adjust the HDR settings according to your preferences. You can adjust the brightness, contrast, and saturation levels of the HDR video to make it look the way you want.

To ensure that you are watching HDR video, you should check the video quality. Most HDR videos have a resolution of 4K or higher, so you need to make sure that the video you are watching is at least 4K. You can check the video quality by clicking on the "i" button in the media player or by checking the video properties.

In addition to OmniPlayer, there are other media players that support HDR playback on Mac, such as VLC, Plex, and IINA. However, not all media players are created equal, and some may not provide the same level of HDR performance as others. OmniPlayer is a great choice if you want a media player that is optimized for HDR playback on Mac.

By following these steps, you can enjoy the vivid colors and bright highlights of HDR video content on your Mac using OmniPlayer. Whether you are watching movies, TV shows, or other types of video content, HDR can provide a more immersive and enjoyable viewing experience.

Not all media players support HDR playback. To watch HDR videos on your Mac, you need to use a media player that supports HDR content. Some of the popular media players that support HDR playback on Mac include VLC, Plex, and IINA. You can download these media players for free from their respective websites. Once you have installed the media player, you need to make sure that HDR playback is enabled in the settings.

Check the Video Quality

To ensure that you are watching HDR video on your Mac, you need to check the video quality. Most HDR videos have a resolution of 4K or higher, so you need to make sure that the video you are watching is at least 4K. You can check the video quality by clicking on the "i" button in the media player or by checking the video properties.

Conclusion

Watching HDR video on your Mac is easy if you follow the steps outlined in this blog post. Make sure that you have an HDR display, use a compatible media player, and check the video quality to enjoy the vivid colors and bright highlights of HDR video content.


Hottest Articles

Latest Articles

Mac System Data Exceeding 200GB? Here’s How to Actually Clear It — A Deep Dive with Heavy Keynote Usage and Time Machine as Examples I. Problem Overview After long-term use, some macOS users discover that “System Data” in Storage Settings grows abnormally large. Common symptoms include: System Data occupying 200GB or more https://cdn.okaapps.com/resource/图2.webp No corresponding files can be located in Finder Deleting caches or log files has little effect Third-party cleaning tools are ineffective Uninstalling and reinstalling apps (such as Keynote) does not help Even after reinstalling macOS, the issue reappears after some time This problem is especially common among heavy productivity users, such as those working extensively with Keynote, Final Cut Pro, or design tools. II. Commonly Tried but Ineffective Solutions Users typically attempt the following methods, most of which fail to solve the problem at its root: Manually deleting directories such as ~/Library/Caches and ~/Library/Logs Using third-party cleaning tools like CleanMyMac or similar utilities Uninstalling and reinstalling Keynote Reinstalling macOS via “Reinstall macOS” These approaches are limited because they do not address the real sources behind System Data inflation. III. What Exactly Is “System Data”? It is important to understand that: System Data is not a real folder, but rather a collection of data that macOS cannot accurately categorize. System Data may include, but is not limited to: macOS system temporary files Application and system caches Portions of the user Library (~/Library) Files Spotlight cannot classify Large resource files inside application packages Local caches from cloud services (such as iCloud or OneDrive) iPhone / iPad backup files Residual data from deleted user accounts Time Machine local snapshots As a result, System Data cannot be reliably inspected or reduced through simple cache deletion or Finder-based browsing. IV. Key Cause #1: Time Machine Local Snapshots Consuming Disk Space How Local Snapshots Work Even when no external drive or NAS is connected, macOS will: https://cdn.okaapps.com/resource/图3.webp Create a Time Machine local snapshot every hour Retain snapshots from the last 24 hours by default If the backup destination remains disconnected, keep local snapshots associated with the most recent full backup These snapshots: Are based on the APFS file system Do not appear as regular files Are entirely counted under System Data In some cases, local snapshots can consume tens or even hundreds of gigabytes. https://cdn.okaapps.com/resource/图4.webp Why They Sometimes Cannot Be Deleted When Time Machine uses a NAS or network storage device as its backup destination, the following situations may occur: The NAS was previously disconnected The network path or IP address changed The backup was not re-“claimed” by the system As a result, macOS may treat these snapshots as belonging to an unreachable backup destination, leading to: tmutil deletion failures Errors such as Stale NFS file handle Snapshots that cannot be reclaimed, causing persistent disk usage V. Key Cause #2: How Keynote and Similar Apps Amplify System Data Keynote itself is not malfunctioning, but its design inherently amplifies System Data usage: Keynote files are actually packages containing large numbers of resources These may include: High-resolution images Embedded videos Fonts Animation and transition assets Spotlight sometimes fails to correctly classify these resources, causing them to be grouped under System Data. For users who frequently create large, media-heavy presentations, steady growth in System Data over time is expected. VI. Effective Solutions (Prioritized) Solution 1: Verify and Restore Time Machine Backup Status (Recommended) Open Disk Utility From the menu bar, select Show APFS Snapshots Select the system Data volume Check whether a large number of Time Machine local snapshots exist If using a NAS as the backup destination: Reconnect the NAS Select the original backup in Time Machine settings Follow the prompts to claim the existing backup Once the backup relationship is properly restored, macOS can automatically manage and reclaim snapshot space. Solution 2: Use Disk Analysis Tools to Identify Real Space Usage It is recommended to use tools that analyze disk usage without automatically deleting files, such as: GrandPerspective EtreCheck The goal is to identify: Which files or directories consume the most space Whether disk usage is abnormally concentrated in specific areas Avoid relying on “one-click cleanup” tools. Solution 3: Check for Residual Data from Old User Accounts If the device previously: Had multiple user accounts Removed accounts without deleting their home folders Then old home directories may still exist and be counted as System Data. Solution 4: Rebuild the System Environment Completely (Last Resort) When System Data usage becomes severely unmanageable and no clear source can be identified, the only definitive solution is: Fully back up all current data Erase the disk and reinstall macOS During setup: Migrate only the user account Do not migrate system settings, applications, or Library data This approach completely removes legacy data structure issues. VII. Long-Term Prevention Tips (for Keynote and Content Creators) Archive older Keynote projects to an external drive or NAS Avoid storing large volumes of presentation files locally for long periods Keep the Time Machine backup destination consistently available Avoid third-party tools that perform automated “system-level cleaning” Periodically monitor disk usage with analysis tools VIII. Conclusion Abnormally large macOS System Data usage is rarely caused by a single cache or log issue. Instead, it is typically the result of Time Machine local snapshots, application package resources, and inherited historical data structures working together. Only by understanding what System Data actually contains—and addressing the root causes—can disk space issues be resolved effectively and long-term.