
Work From Home, Study From Home, covid-19 changed your life. Everybody needs stable, high-speed Wi-Fi at home.
For people who start to work from home and study from home, you might also want to ask these questions. Here is the answer to these questions. With this article, you can build stable, high-speed Wi-Fi in your home. How to test Wi-Fi speed on Mac? How to test Wi-Fi strength? How to test Wi-Fi stability? How to test Wi-Fi speed on iPhone? How to test Wi-Fi signal strength on iPhone? How to check your internet speed on Mac? How to make your internet speed faster? The covid-19 changed the lifestyle of everybody in this world. So everyone needs a stable, faster internet speed now. When you buy the internet provider service from your ISP, they will provide the bandwidth package for you. Choose the one which might suit your request. I would suggest you choose the most considerable bandwidth you can afford.
Test your Internet Speed
The internet speed includes three key parameters, with these three key parameters (Download, Upload, Latency). You can know your network's quality, giving a general idea of the network.
- iWifi- speed & signal test, a professional Wi-Fi speed test, Wi-Fi Scanner, and Wi-Fi Explorer. For the technical guy, you should try this one. You also can try the lan device scanning feature to find all the devices in your network.
BTW, they have the iOS version. Also, the iOS version provides the AR Wi-Fi Map feature, and you can build your Wi-Fi signal map based on the app with your iPhone or iPad.

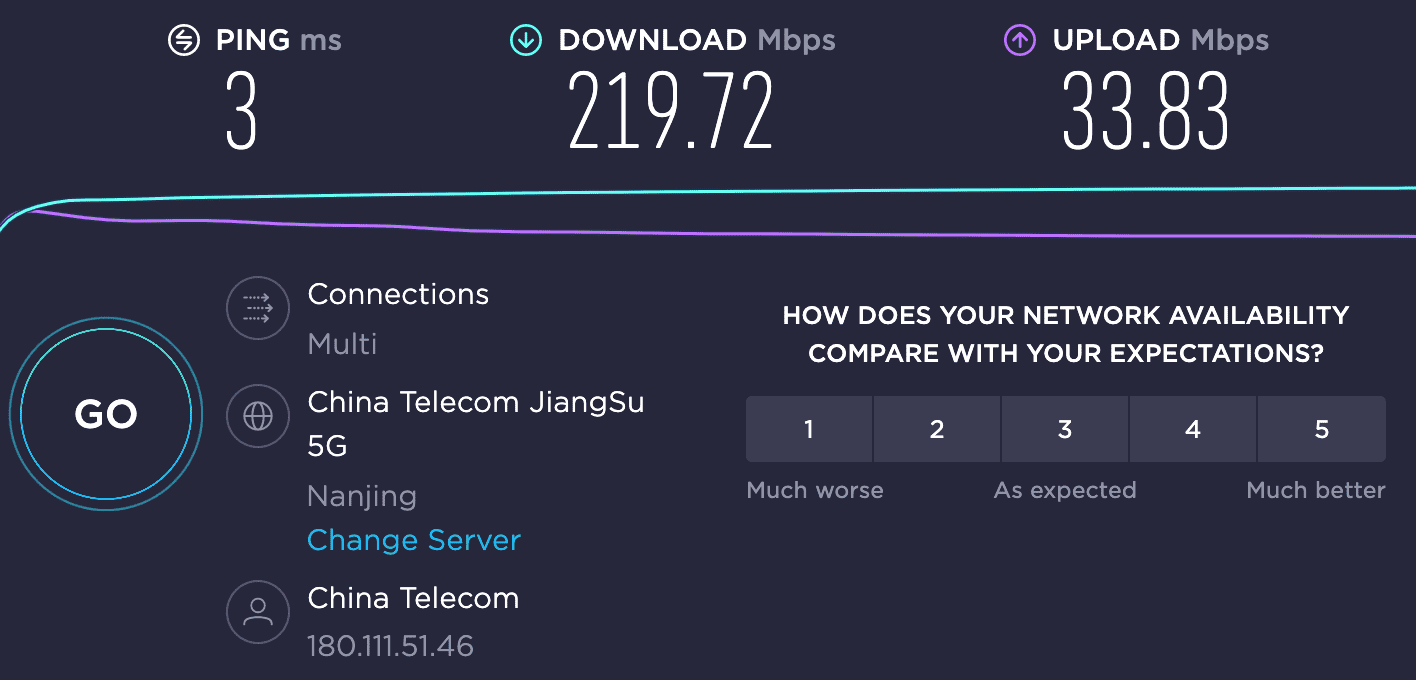
- speedtest.net by OOKLA is a very famous internet speed test vendor; with thousands of testing servers, it provides the most accurate internet speed result. With the result, you will know the quality of your Wi-Fi, your ISP service, and your router.
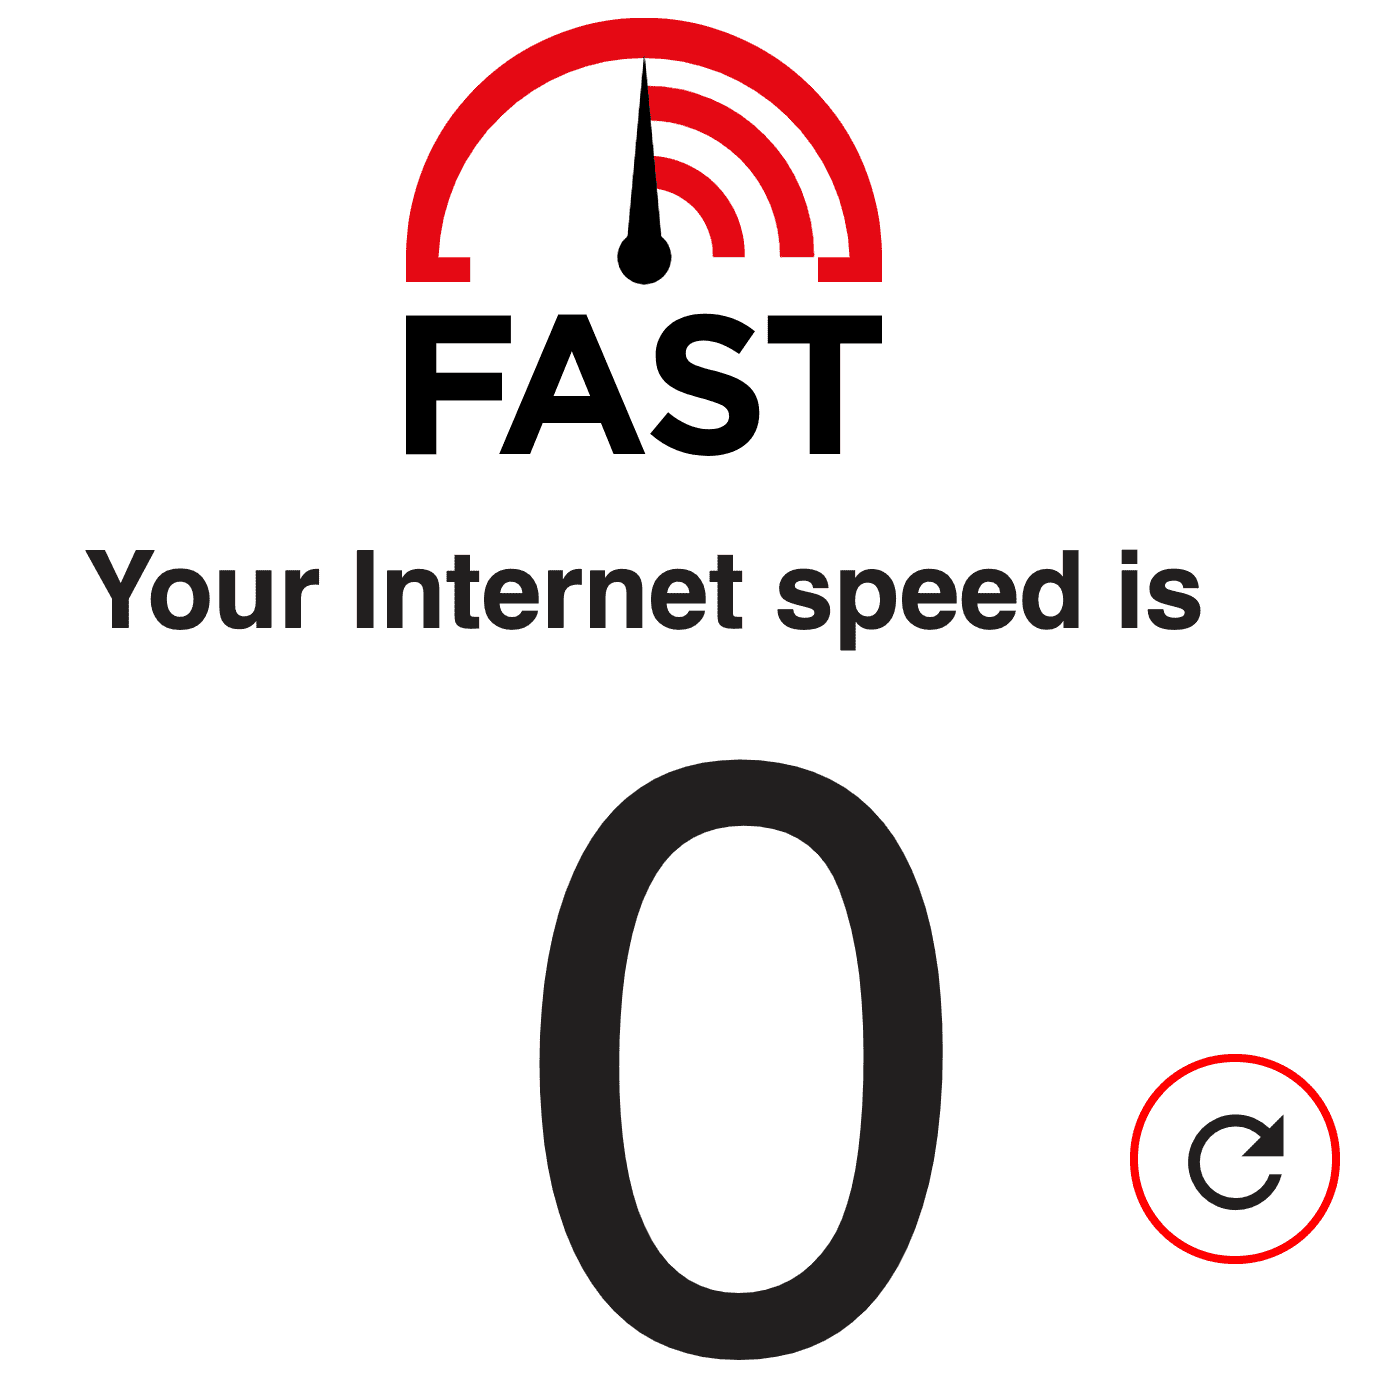
- Fast.com is the internet speed test website that NETFLIX powers. It helps you to know your internet speed to NETFLIX. Suppose you want to watch a streaming video from Netflix. In that case, this website will help you to understand which video quality you can watch on Netflix.
Wifi Scanner and Explorer
If you are a tech guy, testing your network speed is just a piece of general information, you might want to know more. It would help if you had the below tools on your Mac.
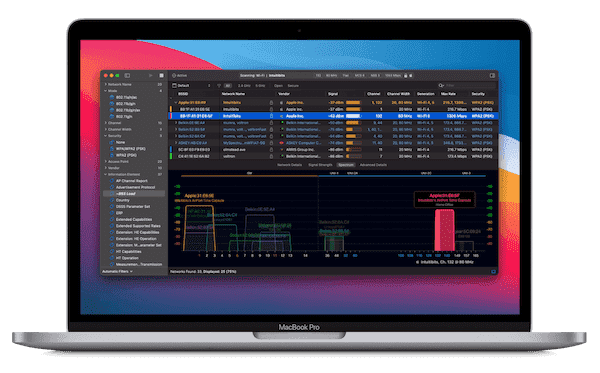
iWifi- speed & signal test, a professional Wi-Fi speed test, Wi-Fi Scanner, and Wi-Fi Explorer. For the technical guy, you should try this one. You also can try the lan device scanning feature to find all the devices in your network.
BTW, they have the iOS version. Also, the iOS version provides the AR Wi-Fi Map feature, and you can build your Wi-Fi signal map based on the app with your iPhone or iPad.
![]()
WiFi Explorer, as this tool's name, only provides the explorer feature, so you also need to use another speed test app. This app only provides the Mac version.
Network Utility AirPort on macOS X
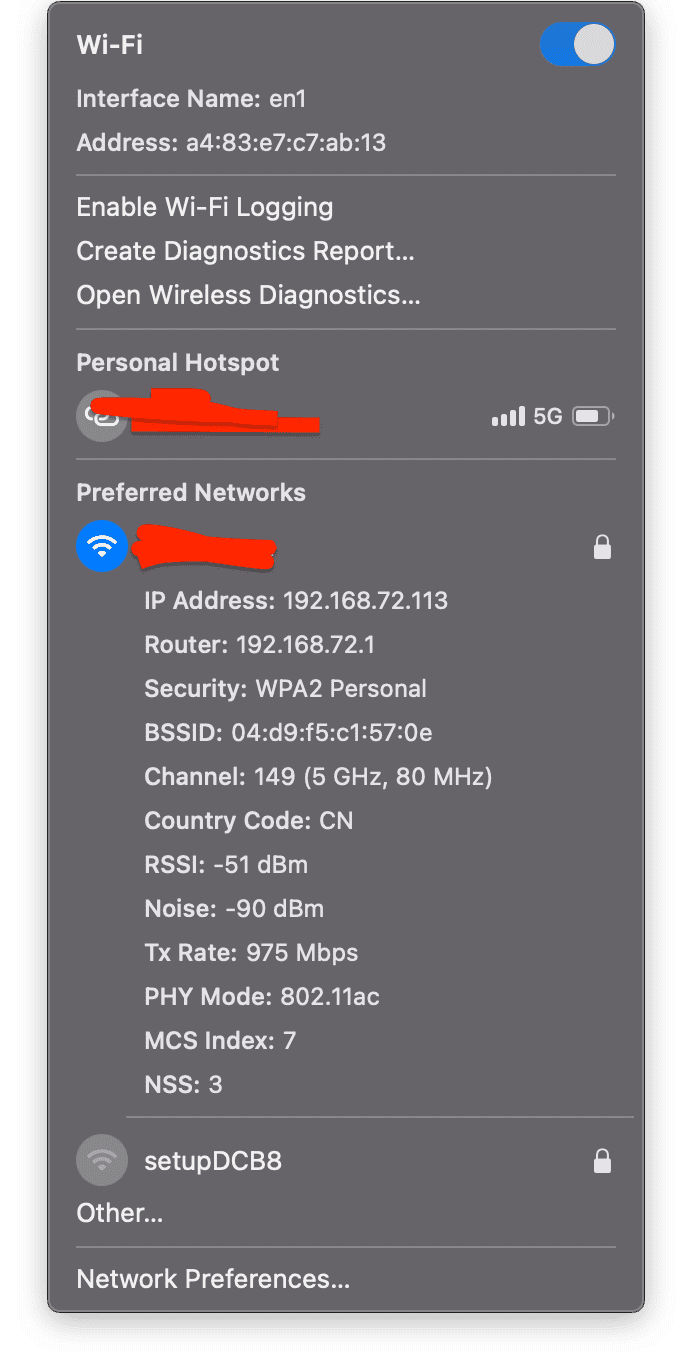
There are native tools that can also help check your Wi-Fi pieces of information. Click the Wi-Fi icon in the status bar with the option key pressed. Then you will see detailed information on current Wi-Fi. And you can click the "Create Diagnostics Report" menu to have a WirelessDiagnostics report file. You also can find the Network Utility with Finder -> Application -> Utilities. It is not available in Big Sur.
Conclusion
Still, many facts might affect your Wi-Fi internet speed, the apps running on your Mac or your iPhone, your router setting, and your bandwidth from your ISP. Plenty of Mac and iPhone tools can help you check your internet speed. There is always one thing that might resolve 80% of the issue. Like what is said in the IT crowd, "Have you tried turning it off and on again?"